Decorating with Creative Ceramic Tile design
Have you ever thought of decorating your own floor with unique ceramic tile design? If so, you've definitely come to the right place. The article below is an example on how to install the beautiful ceramic tiles. Follow the process and useful tips and create your own decorative ceramic tile floor.
>> By Bill Vincent

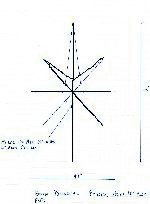
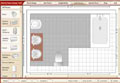
You want to start with your two centerlines so as to lay them out either centered on a tile (either straight layout or diagonal) or centered on a grout joint (obviously straight layout only). As shown in the diagram, snap two square lines, one 72', and one 48", square to the room, and square to each other, intersecting at their midpoints. Then, snap two more lines, diagonal, both 48" in length.
Make marks at 6" from the center on each spline, and then "connect the dots, as shown. You now have your layout for the compass rose. (Note-- varying the lengths and the distance from center of the marks on the splines will change the look of the design)
Once you go to begin cutting the design in, it will help if you extend each line, to make it easier to see where to mark each tile.
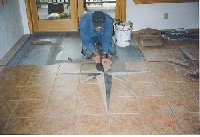
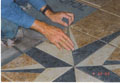
When I go to cut the design in, what I'll do is cut the field in first. I'll mark just to the outside of each line, and actually draw a line on the tiles to make sure the blade doesn't wander during the cut.
Because of the fact that the joints are so tight between the cuts, even 1/32" deviation will be seen.
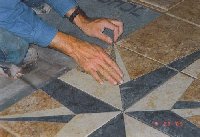
As I make each cut, I'll lay it in place dry to make sure the cuts all mesh together as they should. Once the field is cut in, I'll set it off to the side, and do the same thing with the design pieces, only this time, marking just to the INSIDE of the line, so as to make the calk line the thickness of the grout joint (about 1/16" joint). Again, I'll double mark each piece and then draw lines for accuracy. Once the design pieces are all cut in, I'll again, move the pieces to the side, and then spread thinset in each grid row, as if the design wasn't there, and lay in each 24" row, field cuts first, and then fill in with design pieces, working my way back, and yes, I'll spread across the design lines-- another reason the accuracy is needed when cutting the pieces-- when you put it all back together, you're doing so somewhat blind. All you really have is your grid marks for the field tiles. One other thing to watch out for-- even when using tiles of different colors from the same series, you can end up with minute thickness variations. Pay close attention when putting it together to make sure everything comes out flush, or it'll look bad, because of the tight joints and square edges.
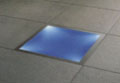
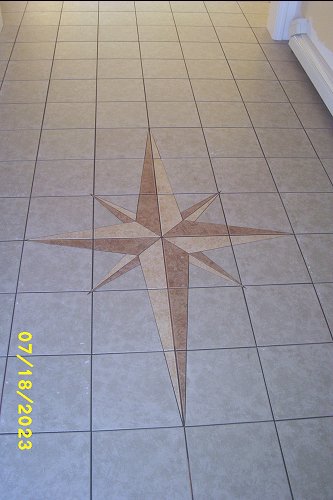
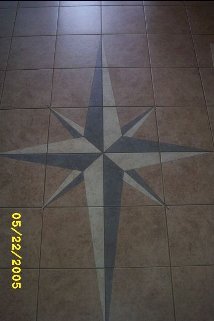
When grouting, use the same sanded grout you use for the rest of the floor, in spite of the fact that you have such small joints. Do this by taking some grout on the float, and working the float in circles on TOP of the grout, working it into the joints. Trust me-- it works. You WILL fill the joints. Once you've worked it in, just clear with the float as you would on the rest of the floor, and WAA LAA -- you now have a beautiful compass rose!
I offer three things to each and every customer: price, quality, and service, but you only get two out of the three. Your choice.
Find out more and download a creative tile design guide from Bill Vincent CLICK HERE
Do It Step By Step